Table of contents
Related Articles
Introduction
This simple Web application has been optimized to give workers easy and quick access to their requests.
WebTech allows to:
- Access requests that are assigned to me
- Consult non assigned request in my group, so they can be taken in charge
- Assign a request to another person/group
- The work is not finished, I can assign the request to another trade (group) of directly to a worker (Octopus user)
- Indicate that a request is completed
It is also possible to:
- Mark the request as pending (waiting for parts, for example)
- Print the request
- Send a communication to the user via email (the information sent is kept in the journal)
- Receive notification when a request has been assigned to me or that a new communication has been received in a one of my requests
WebTech is available for every team who have external technicians.
Prerequisite
Despite WebTech being functional for the majority of browsers, some prerequisites are necessary to allow access to file attachments:
- Only Internet Explorer is able to open file attachments. Firefox, Chrome or Safari browsers have that feature disabled.
- The WebTech URL must be part of the Trusted Sites zone (e.g. app3.octopus-itsm.com)
- The file attachments must have been downloaded to your file share using the Windows client for them to be available in WebTech.
Login Window
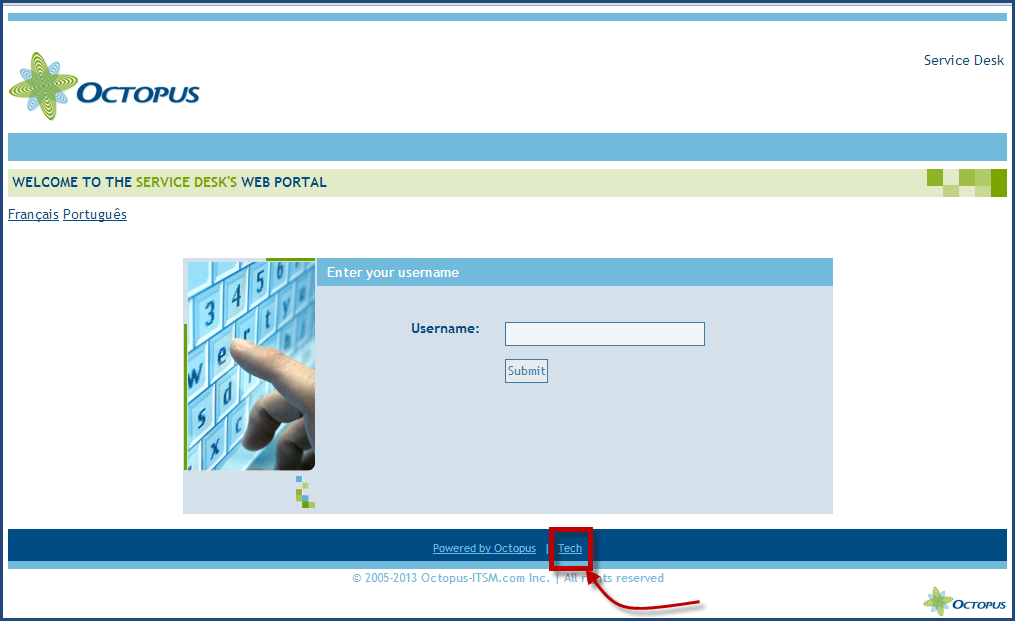
The interface used to process incidents/SR is different from the one used by end users. From the Web Portal main page, click on the Tech link located at the bottom of the login screen.
To login, you need to use the username and password that will be given to you.
Navigating the Tech Web module
My incidents/SR List
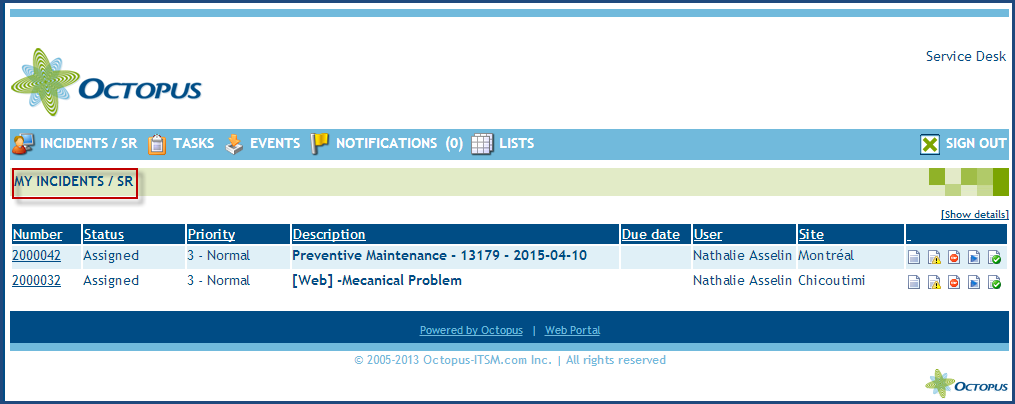
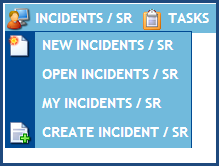
When it opens you will automatically be in the My incidents/SR list, in other words the list of the requests assigned to you. To consult the list of all the open requests, click the INCIDENT/SR and click on OPEN. To consult the complete list of all the new requests, click on INCIDENTS/SR > NEW.
List of Open and New incidents / SR
In the Incidents/SR list, you can consult the New and Open list.
The list of new requests show the ones that have not been assigned to a specific person yet. This list contain the new requests associated to your groups. If you are part of more then one group, we recommend that you sort this list by group.
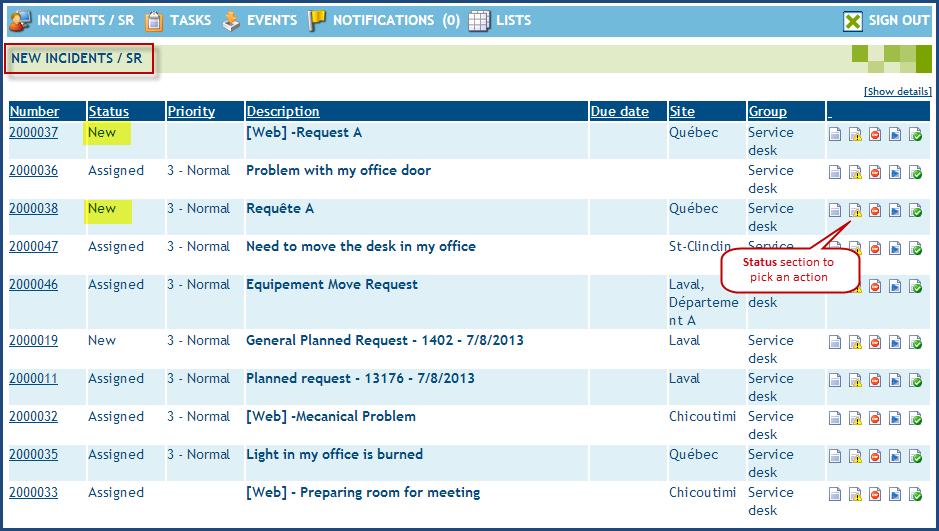
To sort by group, simply click the top of the group column. You can sort by any of the columns in the list.
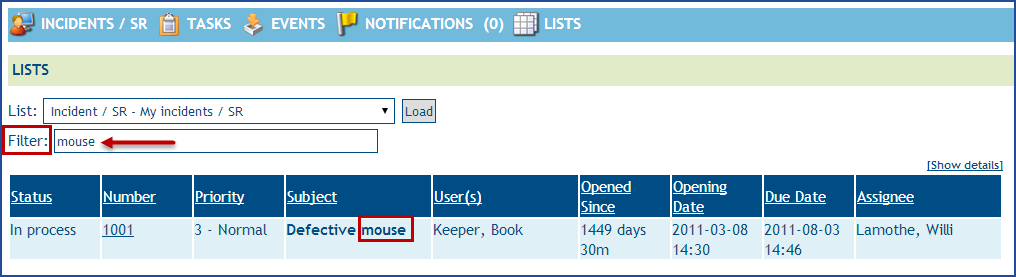
Filter requests in a list
To improve searches done in requests on WebTech, we added a filter. Octopus looks for the exact or partial expression entered in the field. The search is done on most fields in the request.
Action Column
The last column to the right contains 5 icons that allow you to take assignment, mark pending, suspend, reactivate or mark resolved the requests from the list.

The open list contains all the request that have not been resolved yet, regardless of their status (Assigned, Pending, New, etc.).
Updating an incident / SR
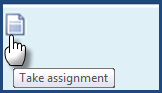
Take Assignment
When you start to work on a request, you must take the assignment from the list of new request. This indicates to others that you are currently working on the request and it takes it out of the new list. Taking the assignment will change the status of the request to In process.

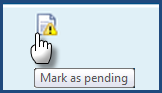
Mark Pending
When you cannot finish the work for a request and that you need to mark it pending, click on the Mark Pending icon. The following window will appear and you can select the reason to mark the request as pending.
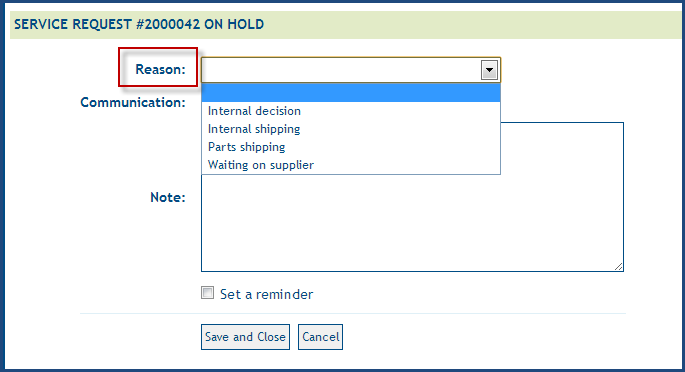
Click on Save and Close to finish marking the request as pending.

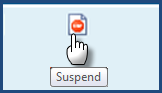
Suspend
When you cannot finish the work for a request and that you need to suspend it, click on the Suspend icon. The following window will appear and you can select the reason to suspend the request.
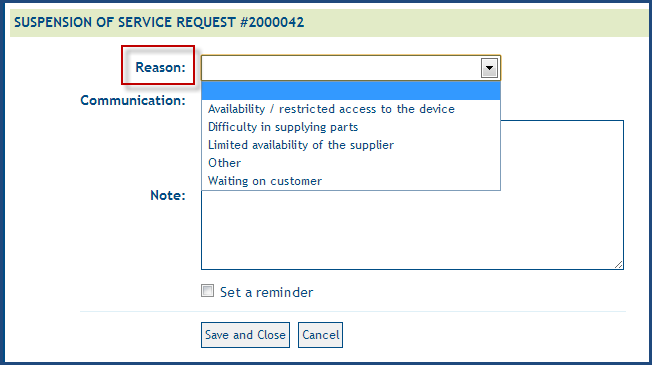
Click on Save and Close to suspend the request.

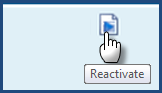
Reactivate
When a request is either suspended or pending you can reactivate it by clicking on the Reactivate icon.

Consult / Modify a Request
When you want to consult a request, just click on the number of the request to open it.

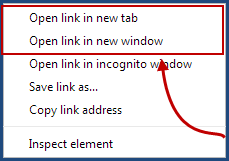
If you want to keep your list open as well as the request, do a right click on the number and choose open in a new window, it will open a Web browser with the request you selected. This way you can go between the selected request and the list of your request.
Once the request is open, it is possible to modify all the information in the request (Subject, Description, Priority, etc.) or add an activity.
Also, when an equipment (CI) is associated to an incident, it is possible to see the local where it is installed and, optionally, the note accompanying the CI informing techs of any additional requests. Contact us if you want to display the CI note.

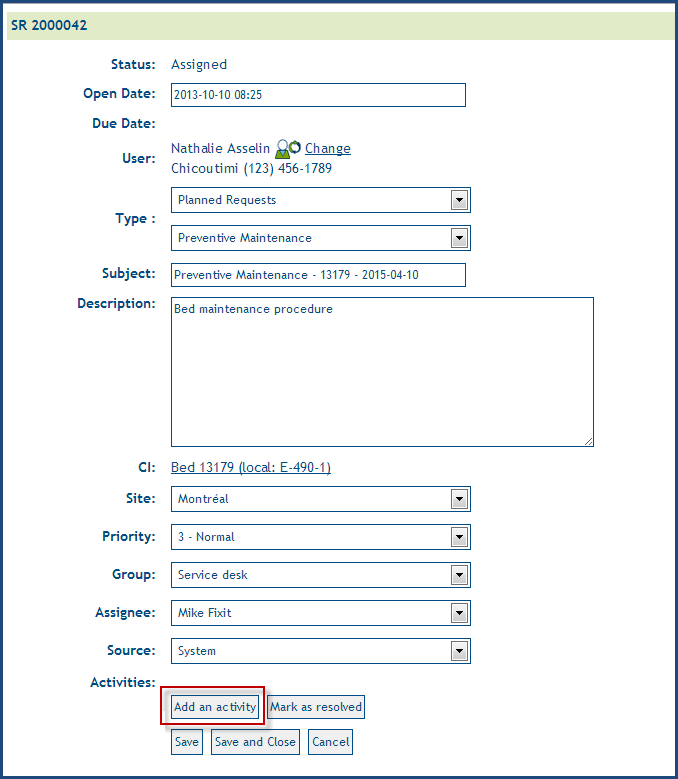
Add an Activity
Adding an activity allows to describe the work that has been done or is ongoing. It is also possible to communicate with different people within an activity in Octopus.
To add an activity:
- Open the request in WebTech.
- Click the Add an activity button.
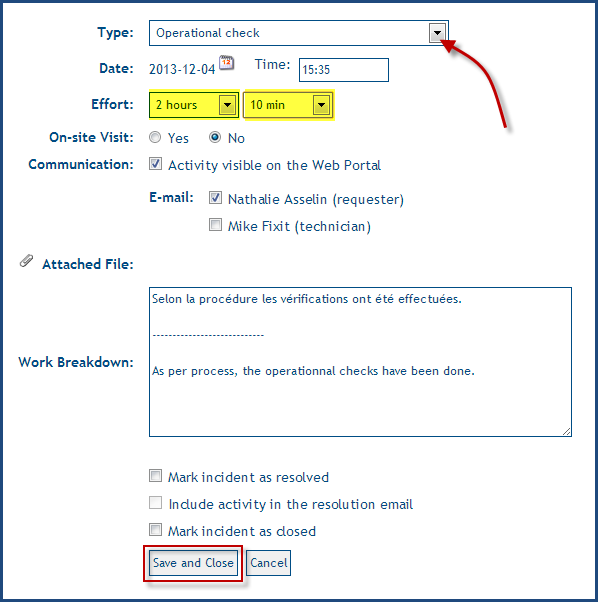
- Use the activity Type drop-down list to speed up data entry.
- The activity types need to have been previously entered by the Octopus administrator.
- Indicate if an on-site visit was required for this activity.
- Indicate the effort to add the time spent on this activity.
- Once you are done, click the Save and close button.
The Save and Close button does not close the incident/SR, it only closes the activity window and goes back to the request.
Communicate with others using activities
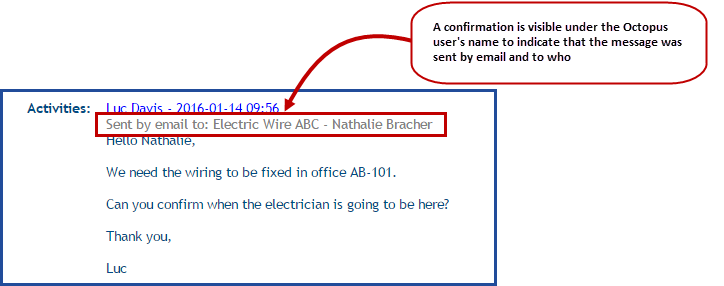
Information can be sent to certain people from within a request in Octopus. This consigns the information to the request and shares it to others in one step. Users who have access to the Web Portal can receive the communication via the Web Portal and/or by email. When an activity is sent by email, it is indicated by a note under the Octopus user's name with the mention "Sent by email to:" followed by the name of the recipient.
Here is the list of people with whom it is possible to communicate:
- Requester.
- User.
- Technician.
- A supplier contact.
- The supplier and the contact must have been created beforehand.
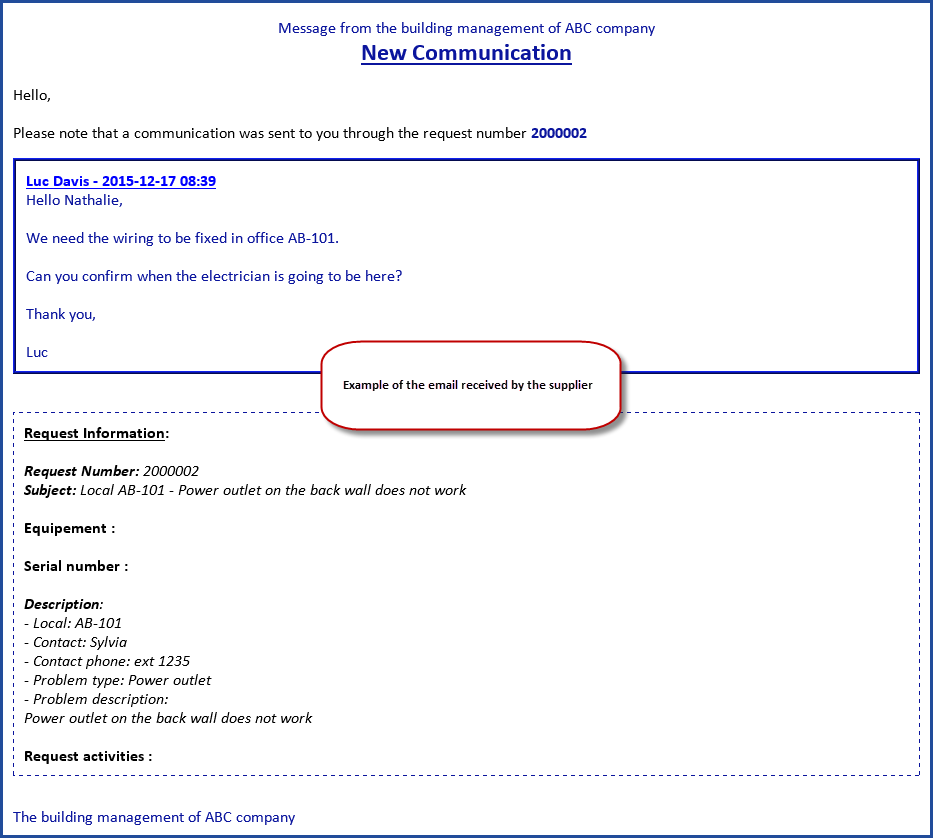
- Communication is done by email with a template specifically designed for suppliers.
To communicate with others from within a request:
- Open the request in WebTech.
- Click the Add an activity button.
- Fill in the activity with the required information.
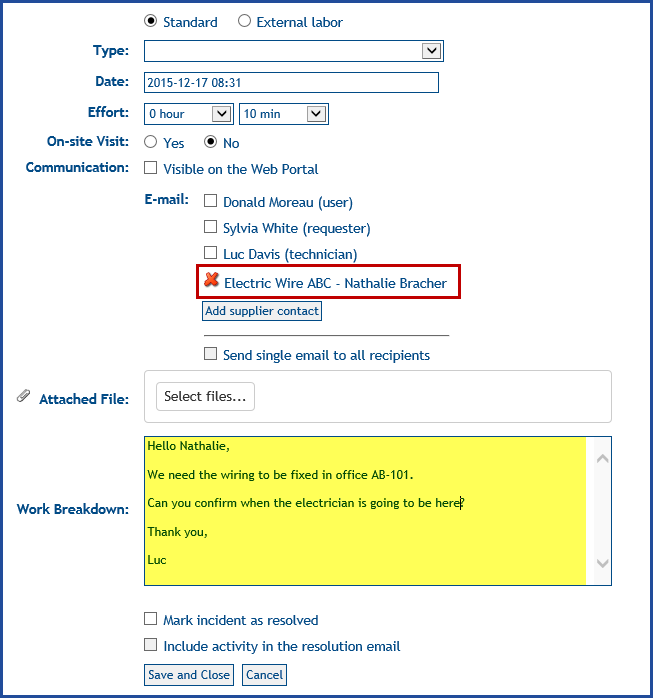
- Write the information to be communicated in the Work Breakdown field.
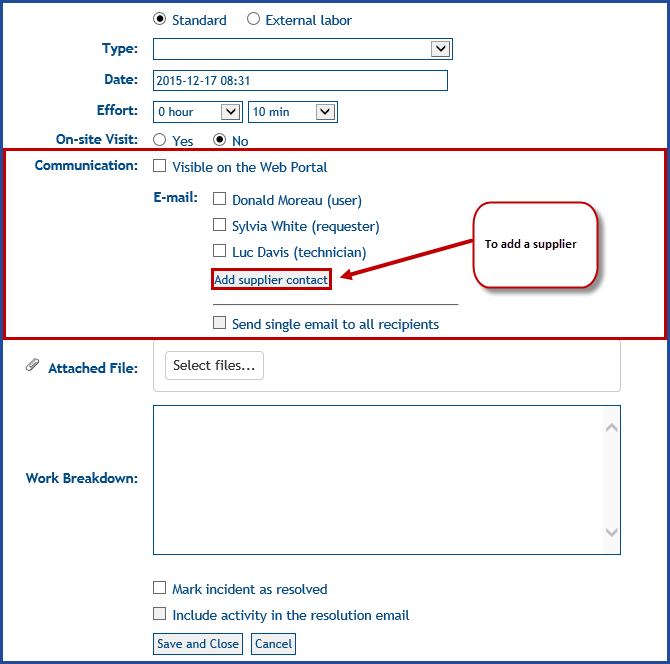
- From the Communication section:
- Check the people that need to receive your communication (requester, user, technician).
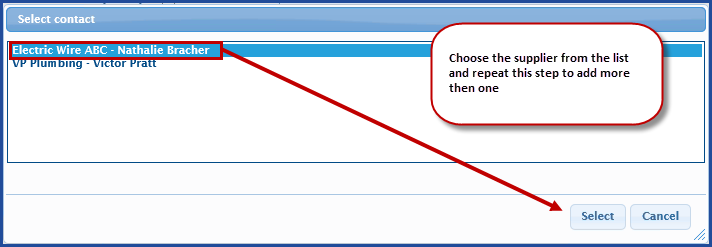
- To send the information to a supplier contact, click the Add supplier contact button and select the contact. Repeat the action to add more than one supplier.
- To remove someone from the communication list, simply uncheck the box or click the red X in the case of a supplier.
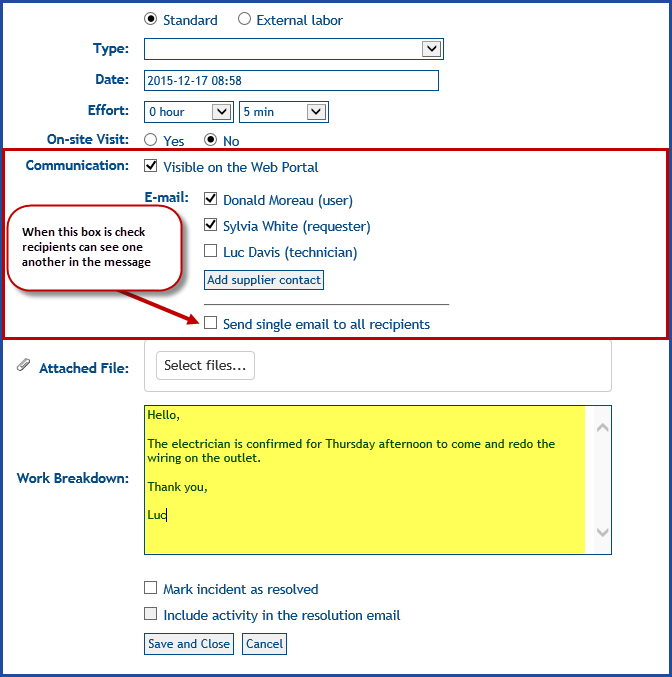
- Check the Visible on the Web Portal box to render the activity visible to the requester and user from the Web Portal.
- To send the same email to all (everyone in CC), check the Send single email to all recipients box.
- People can see others addresses with this option and "reply to all".
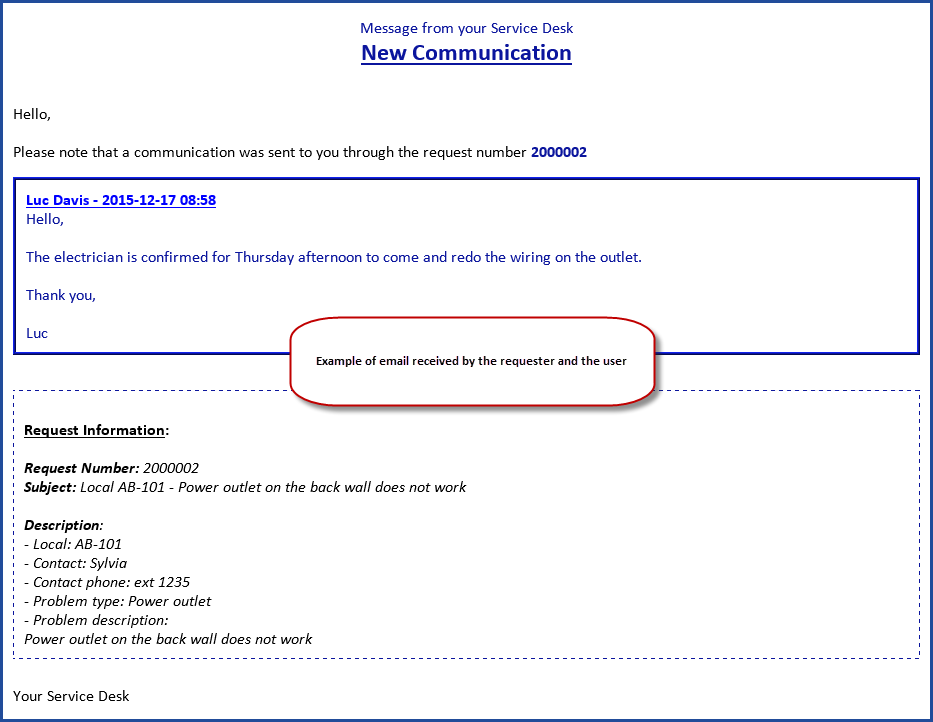
Activity sent to a supplier
Activity sent to the requester/user
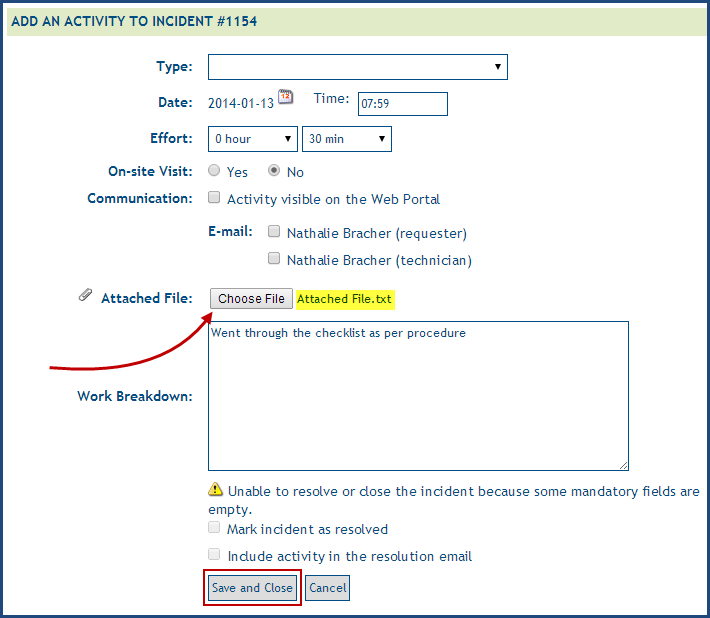
Add an Attachment
Attachments can be added from an activity.
- Open an activity
- Click on Choose a file
- Browse and select your file
- Enter a description
- Click on Save and Close
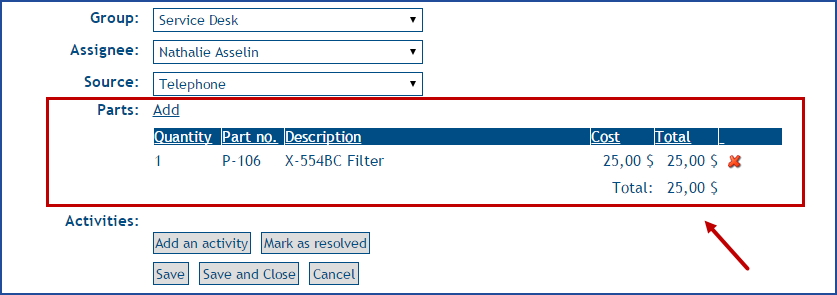
Add a Part
It is possible to add a part to a request from WebTech. The Parts field is located at the bottom of the page under the Group and Assignee fields.

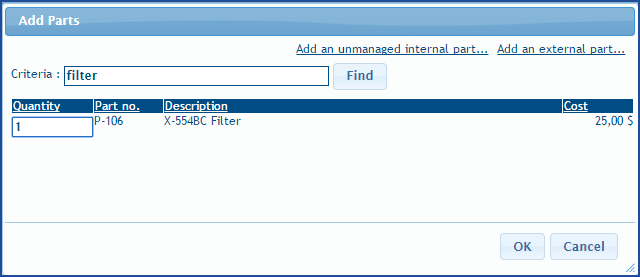
Once in the parts window you can:
- A; Add a search criteria to look for a part in inventory
- B; Add a unmanaged internal part
- C; Add an external part
Once you have found the part, add the quantity and click on OK to add it to the request. Note that you can add more then one part to a request. If a cost was associated to the part, it will be added to the request and to the ownership cost of the CI if one was added to the request.

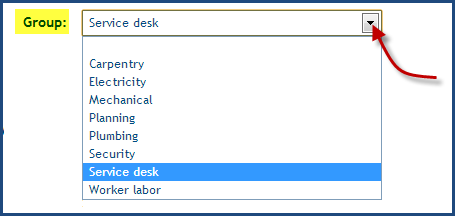
Transfer a request to another assignee / group
It could happen that a request needs to be transferred to another trade or another worker in order for work to continue. To do this you need to edit the request and change the Assignee field, to assign to another person, or change the Group field to send the request to another group. Note that in certain cases you need to change the group in order to assign the request to another person.

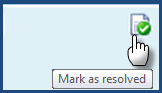
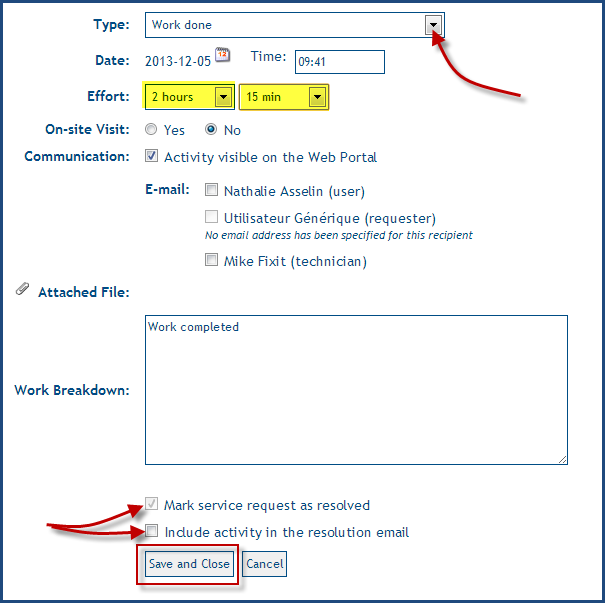
Resolve an incident / SR
Once work on a request is done, you can click the Mark as resolved button.

An activity window will open with the Mark the request as resolved already checked (for a service request and the Mark request as resolved box for an incident).
It is possible to send the request resolution activity by email, by simply checking the box.
Then all that is left to do will be to enter the activity type, effort and description. Finally, click on Save and Close to complete the request.
Thank you, your message has been sent.