SHOW ALL CONTENT
Table of contents
Overview
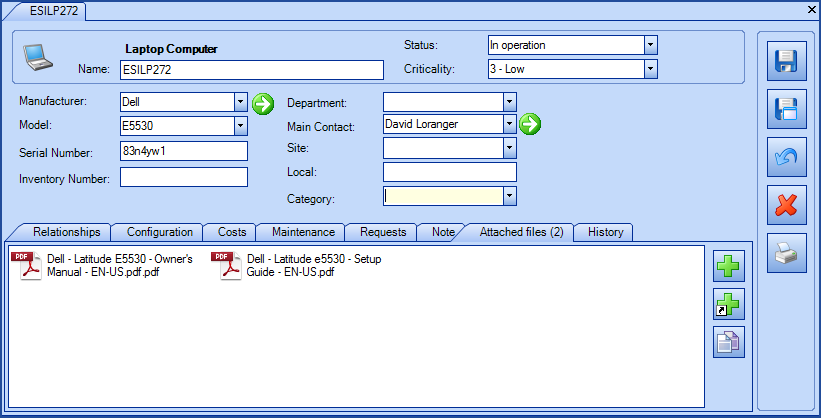
This article describes how to import attached files to be linked to CI in Octopus.
NOTE:
Importing attachments has greatly changed and the instructions that follow are not quite up to date.
Contact us before proceeding with this type of import.

References
What you need to know:


Importing attachments has greatly changed and the instructions that follow are not quite up to date.
Contact us before proceeding with this type of import.
Requirements for importing files
To be able to import attached files, the following conditions must be met:
- Files to be attached need to be located directly on your local server.
- The service account for the Octopus server (normally Network Service) must have read access to the source folder containing the files to be imported.
- The service account for the Octopus server (normally Network Service) must have full control to the attachment share. If the attachment share is located on another server, you might have to temporarily configure the share allowing Everyone full control.
Required Fields
- CI - Text (100)
- Must contain the CI name
- Attachment - Text
- Must contain the complete local path to find the file to attach
- Example: C:\FolderName\FileName.txt
Communicate with Octopus for this type of import
Configuration File (XML)
The declaration of the source is done by indicating the CIAttachment value in the <Content> tag.
NOTE: The XML file used as this example is for an import done from Excel 2007 or 2010. To explain the tags used in all types and to find out more about the types of files, please refer to the XML Configuration File article
<?xml version="1.0" encoding="utf-8" ?>

<Sources>

     <Source Name="CI Attachment Import" >

          <ConnectionString>Provider=Microsoft.ACE.OLEDB.12.0;Data Source=c:\Import\CI.xlsx;Extended Properties="Excel 12.0 Xml;HDR=YES";</ConnectionString>

          <ViewName>[Import CIAttachement$]</ViewName>

          <Content>CIAttachment</Content>

     </Source>

</Sources>
X
Thank you, your message has been sent.
